
When creating each natural soy candle here at The Smallest Light, I take time and great care over testing, to ensure a successful burn, a beautiful scent throw which fills the room and a candle that lasts you as long as it possibly can!
However, occasionally you may run into a problem or two. Perhaps a wick is not trimmed or accidentally cut too short, or the candle is only lit in short bursts. To troubleshoot any of those annoying little bumps in the road, I have put together my top three tips and tricks to ensure that you can get the best possible burn out of your natural soy candle.
1. Trim, Trim, Trim your soy candle
When burning your soy candle, it is likely that the wick will need to be trimmed in between burns. If you burn a candle without trimming the wick between uses, this can cause a large flame that is potentially dangerous. A long wick also increases soot, which can form as the candle burns. This is why – before you light the candle – you should always keep an eye on the wick length and trim it if needed.
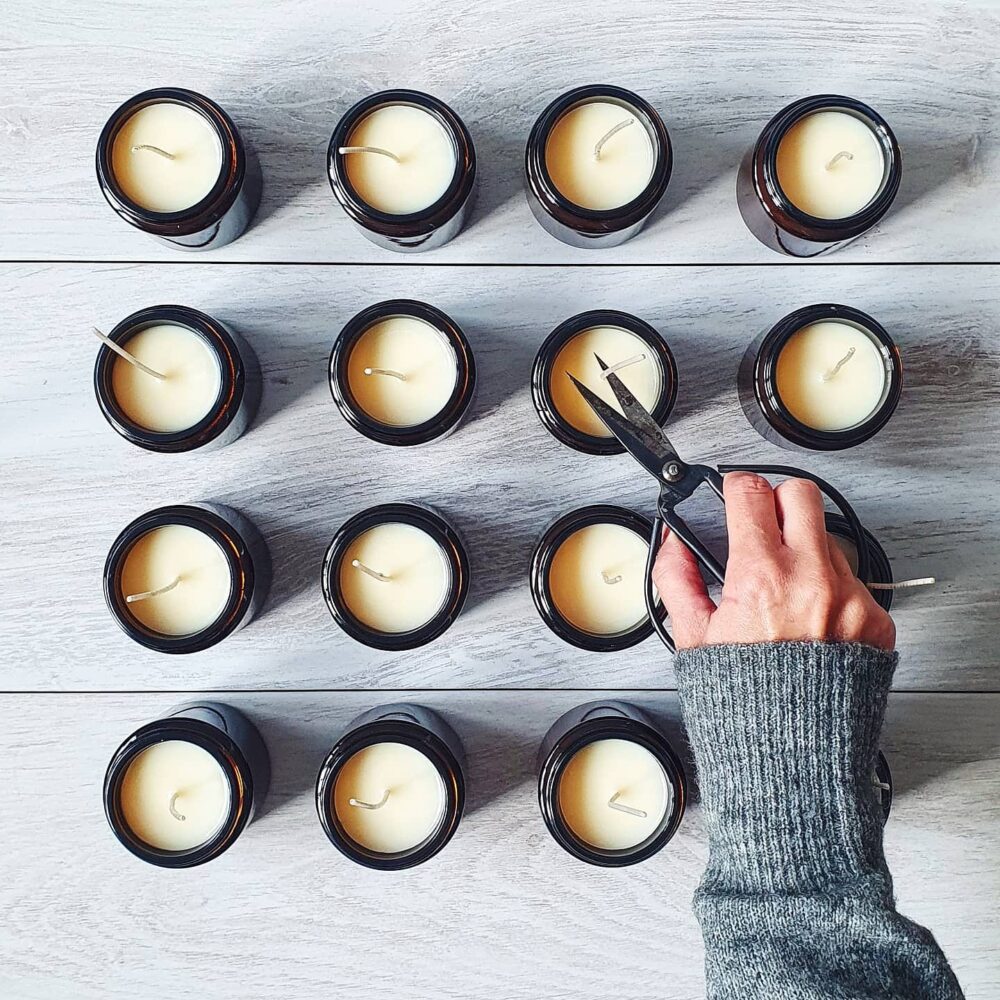
Trimming the wick should be done when a candle is extinguished and the wax has hardened. With scissors or a wick trimmer, trim it to the recommended length of 1/4 inch or 5mm. Put the cut portion of the wick into the bin, do not leave it on the candle surface.
Just be careful not to cut the candle wick too short, or you’ll need to use the tips below to rescue it!
2. prevent tunnelling in your soy candle
The most effective way to make sure you get the best performance out of your candle is to burn it long enough for it to form an even pool of melted wax across the surface. This is known as a full melt pool (but remember – for safety reasons you should not burn your candle for longer than four hours at a time or leave it unattended).

Achieving a full melt pool on the first burn should prevent “tunnelling” or excess wax build-up on the side of the jar, which could melt during future burns and potentially drown the wick or prevent air reaching the flame.
3. Fix A Candle Wick That’s Too Short
Perhaps the wick has been trimmed a little over zealously and become too short, or snapped off accidentally when it is very hot and brittle. There are a few tips you can follow for fixing a candle wick that’s too short:
Light the wick and let it burn for 20 to 30 minutes. Check the flame height as you burn it to see if the problem works itself out.
If the flame is looking weak and small, blow out the candle and pour a little of the melted wax into a safe container (a food bin or a paper plate would work). A different option would be to soak up a little of the liquid wax with a paper towel. You must make sure the candle is never lit when you try any of these techniques!

This will expose more of the wick and should then allow for a better, stronger burn. You should then relight the candle let it burn all the way to the edges, achieving a full melt pool again, before extinguishing it.
If the wick is too short even to light, you can try to scrape out room-temperature wax around the wick, using a small pallet knife or end of a small spoon to carefully expose more of the wick so you can light it and follow the steps above.
I hope these tips have been helpful to you! I will be back with further posts on candle care and tips so keep an eye on the blog, comment below or email me with any of your soy candle questions – I will do my best to help out!
i loved this кардинг форум
I love candle, Thanks for sharing this very good post. Very inspiring! (as always, btw)
Hi
Please can you advise why soy candles settle unevenly after burning. is this normal or should there be a smooth top like when you buy them? I only ask as they can appear ugly at times.
Hi Nin, after burning a soy wax candle, it probably won’t ever look as smooth on the surface as it does when you purchase it. However, if you follow the tips in this blog post and burn the candle evenly by ensuring the melt pool reaches the sides of your vessel and avoid tunnelling, you should still get a fairly even surface after each burn. Hope that helps!
So nice! Thanks for sharing with us.